Intro and Brief Recap
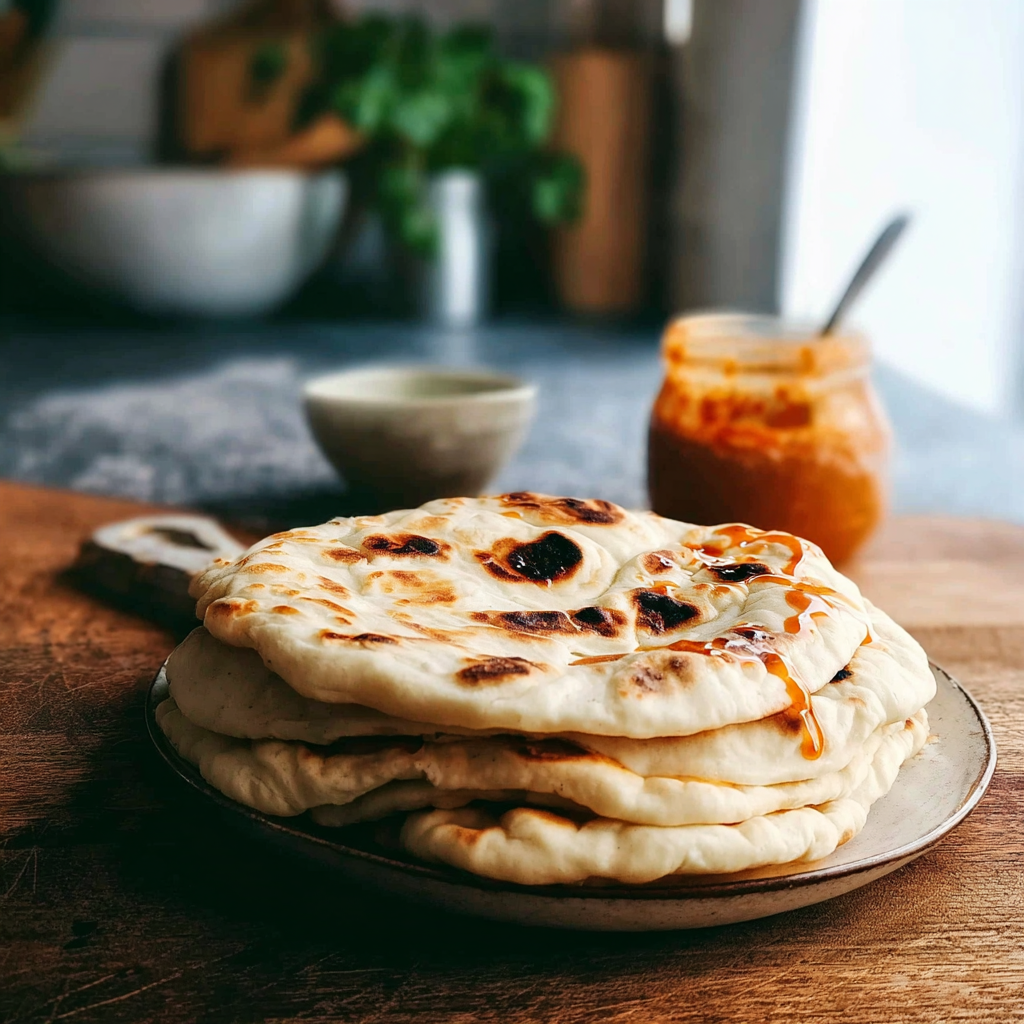
Have you ever tasted warm, fluffy pita bread fresh out of the oven? The delightful aroma wafts through the air, inviting you to take a bite. Homemade Pita Bread not only tantalizes your taste buds but also offers a chewy texture that perfectly complements your favorite dips and spreads. Whether stuffed with savory fillings or served alongside hummus, this bread elevates any meal to something special.
As I reflect on my childhood, I remember the joy of baking with my grandmother. We would gather in her cozy kitchen, flour dusting our hands as we shaped the dough into rounds. The anticipation grew as we watched them puff up in the oven, transforming simple ingredients into a delicious treat. Homemade Pita Bread is perfect for gatherings, picnics, or even a cozy dinner at home. Join me in recreating this comforting recipe that promises warmth and satisfaction with every bite.
Key Ingredients For Homemade Pita Bread
Here’s what you’ll need to make this delicious dish:
- All-Purpose Flour: This versatile flour provides the structure needed for fluffy pita bread; choose high-quality flour for best results.
- Warm Water: Using water at around 110°F (43°C) helps activate the yeast for proper rising.
- Active Dry Yeast: Ensure your yeast is fresh for optimal leavening; check the expiration date before use.
- Salt: A crucial ingredient that enhances flavor; sea salt is an excellent option for added taste.
- Olive Oil: Adds richness and moisture to the dough; extra virgin olive oil gives a nice flavor boost.
The full ingredients list, including measurements, is provided in the recipe card directly below.
Instructions For Homemade Pita Bread
Follow these simple steps to prepare this delicious dish:
First Step : Activate the Yeast
In a small bowl, combine warm water and active dry yeast. Let it sit for about five minutes until it becomes frothy; this indicates that your yeast is alive and ready to work.
Second Step : Mix the Dough
In a large mixing bowl, whisk together all-purpose flour and salt. Make a well in the center and pour in the activated yeast mixture along with olive oil. Stir until a rough dough forms.
Third Step : Knead the Dough
Transfer the dough onto a lightly floured surface. Knead it for about eight to ten minutes until smooth and elastic. If necessary, sprinkle a bit more flour to prevent sticking.
Fourth Step : Let It Rise
Place the kneaded dough into an oiled bowl and cover it with a damp cloth. Allow it to rise in a warm area for about one hour or until doubled in size.
Fifth Step : Shape Pitas
Once risen, punch down the dough and divide it into equal portions. Roll each piece into balls and then flatten them gently into rounds about half an inch thick.
Sixth Step : Bake
Preheat your oven to 475°F (245°C). Place pitas on a baking sheet lined with parchment paper and bake for about five to seven minutes or until they puff up beautifully.
Transfer to plates and enjoy these soft delights warm from the oven!
Expert Tips
Here are some helpful tips to ensure the best results for your dish:
- Use Fresh Ingredients: Ensure your yeast is fresh for maximum rise; old yeast can lead to flat pita bread.
- Kneading Technique: Knead until smooth and elastic to develop gluten, which helps achieve that perfect puff during baking.
- Pita Storage: Store leftover pitas in an airtight container at room temperature for up to three days or freeze for longer storage.
Presentation Ideas
This Homemade Pita Bread is versatile and pairs wonderfully with:
- Hummus: Serve warm pita with a bowl of creamy hummus for a delightful appetizer. The soft texture of the pita complements the smoothness of the hummus perfectly, making it a favorite for gatherings.
- Salads: Use pita bread as a base for salads. Cut it into triangles and toast until crispy to create crunchy croutons. Top your salad with your favorite ingredients and enjoy a refreshing meal.
- Gyros: Fill homemade pita bread with grilled meats, fresh vegetables, and tzatziki sauce. This combination creates a delicious and satisfying sandwich that’s perfect for lunch or dinner.
Storage Tips
To keep your Homemade Pita Bread fresh, store it in an airtight container at room temperature for up to three days. If you need to store it longer, consider freezing the bread. Wrap each pita individually in plastic wrap or aluminum foil, then place them in a freezer-safe bag. When ready to use, simply thaw at room temperature or warm them in the oven for a few minutes.
How to Make Homemade Pita Bread
Making Homemade Pita Bread is easier than you may think. Start by mixing flour, water, yeast, and salt until they form a dough. Knead the dough until it becomes smooth and elastic. Allow it to rise until doubled in size. Once risen, divide the dough into smaller pieces and roll each one into circles before baking them in a hot oven.
Common Mistakes to Avoid
When preparing your Homemade Pita Bread, avoid these common mistakes:
– Not allowing the dough enough time to rise can lead to dense pitas. Ensure you give the dough adequate time.
– Baking at too low of a temperature will result in pitas that do not puff up properly. A high temperature is essential for achieving that signature pocket.
– Overworking the dough can make your pita tough instead of soft. Handle it gently after kneading.
FAQs
Can I make Homemade Pita Bread without yeast?
While traditional pita bread relies on yeast for its leavening properties, you can try making a flatbread version without yeast using just flour and water. However, this will not create the same pocket that is characteristic of classic pita bread. For optimal results and texture, using yeast is recommended.
How do I know when my Homemade Pita Bread is done?
Your Homemade Pita Bread should be slightly golden brown on the outside and have puffed up nicely while baking. If you gently press on it and it springs back without leaving an indentation, it’s done! Always check for that beautiful puffiness which indicates proper cooking.
Can I use whole wheat flour for my Homemade Pita Bread?
Absolutely! You can substitute all-purpose flour with whole wheat flour for a healthier option. Keep in mind that whole wheat flour may require additional water due to its higher absorption rate. Adjust accordingly for best results.
How long does Homemade Pita Bread last?
Homemade Pita Bread stays fresh for about three days when stored properly at room temperature in an airtight container. If frozen, it can last up to three months. Make sure to wrap them tightly to prevent freezer burn before placing them in the freezer.